This article explains how to amend/edit existing Templates or add NEW templates to your Influence database.
Setup
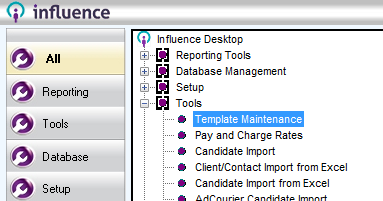
Login as the ‘ADM’ user (or another user with Administrator privileges) and choose Maintenance>Tools>Template Maintenance.
When the Template Editor opens, choose the [Word] tab.
To Create a New Template Document
To add a new template, choose the [Word] tab.
Enter a short name for the Template Document - no more than 9-characters
e.g. CliACFrm
Then press <Tab>
For NEW templates complete the rest of the fields below, and ensure that ‘Save Created Doc’ is ticked.
Pic2
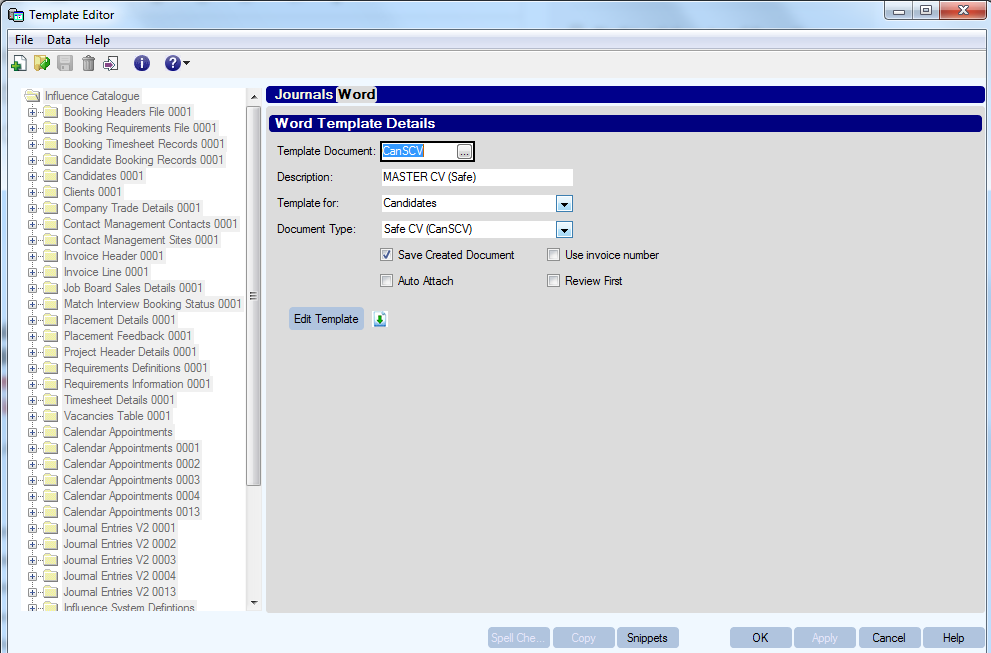
Description – an internal description for this document.
Template for – choose the record type where the template is used, i.e Candidates, clients, placements or vacancies.
Document Type – Choose one of the existing ‘Workflow’ templates, or choose Toolbar Word icon to allow you to select the document from the MS word icon at the top of the relevant record type.
Make sure to tick Save Created Document [ ] and then press Apply.
The template can then be uploaded by simply Dragging/Dropping a *.doc or *.docx file onto the page.
To Edit an Existing Template Document
Choose Maintenance > Tools > Template Maintenance
Select the [Word] Tab
Click [...] to select an existing template <or> add a new template (as above)
Overwrite an existing Template with a New One (Word doc)
A template can be updated by dragging/dropping a word document into the template editor window. This will overwrite the existing template, please note there is no way to undo this process. It is advisable to save a copy of the original template before updating.
Manually Edit the Content of an Existing Template
An existing or newly added template can be edited by clicking [Edit Template] to open the template in MS Word. Make any changes to the text, and use the ‘Template Editor’ to pick any fields that you wish to include.
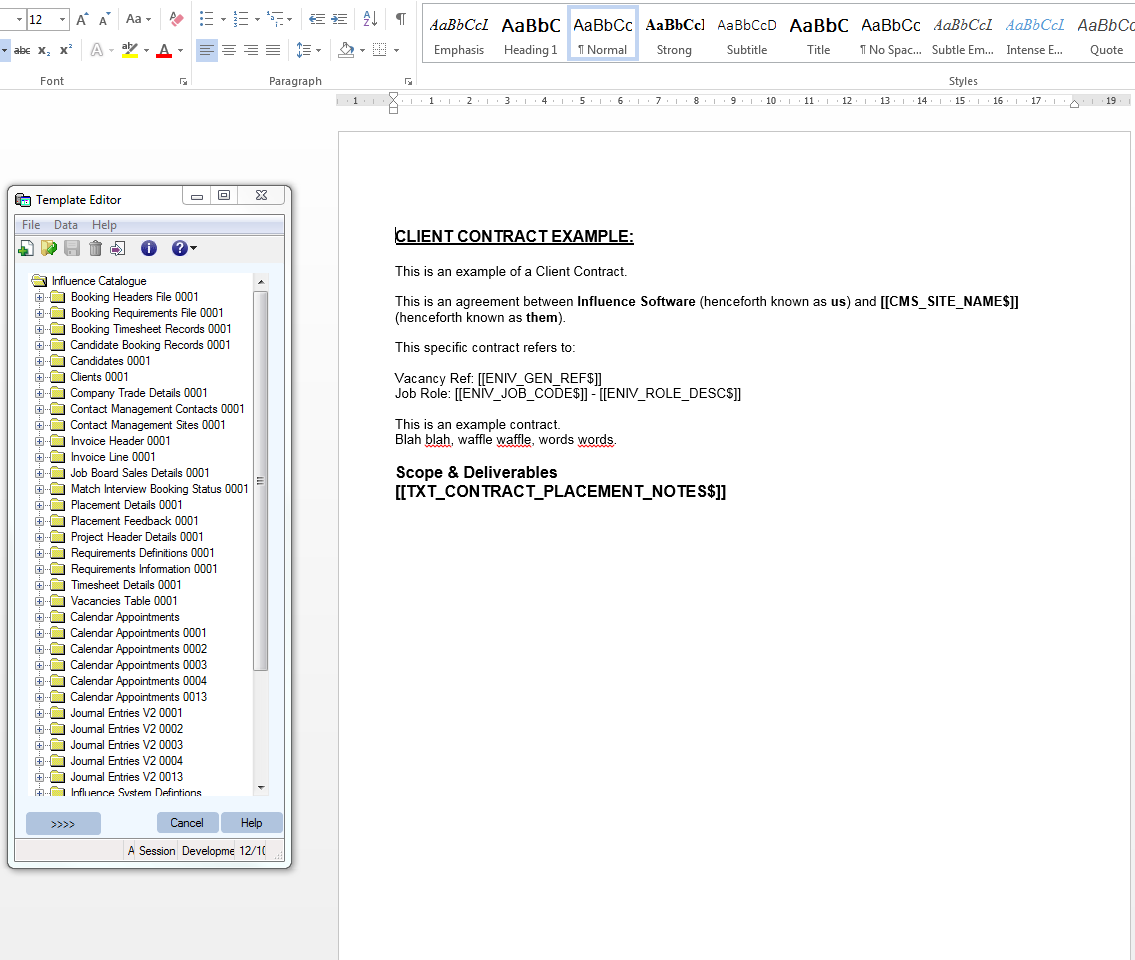
e.g. To add the ‘Job Title’ as a merge field in the document, select the Vacancies Table 0001 from the Template Editor screen and then choose ‘Role Description’.
Double-click to insert the field into the MS Word document.
Completing
When done editing the document in MS Word chose File > Save to save your changes, then click [Cancel] to close the Template Editor/Field Picker window.
Jeremy Heaney (Migrated deleted Agent)
Comments