Setting up a connection to Influence on your laptop is easy. You just need some basic info, an internet connection and a PC (Windows, *not* Apple Mac).
The basic process is:
- Install the K7Connector software on your PC/Laptop.
- Setup an icon on the Desktop.
In order to setup the icon you will need to know:
- The details of the server where your database is installed.
- The SERVICE NAME of your database.
- Your server login details (username and password)
(1) Install K7 Connector
Install the K7 Connector that allows your PC to connect to the database.
- Go to www.influence-it.co.uk/downloads
Find the item called K7Connector.exe and download this.
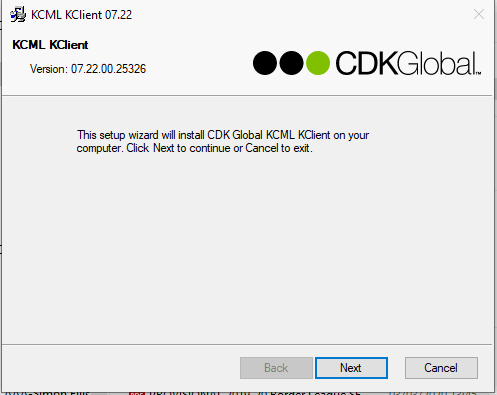
Once downloaded, run the item to install it on your PC.
Click [Next]
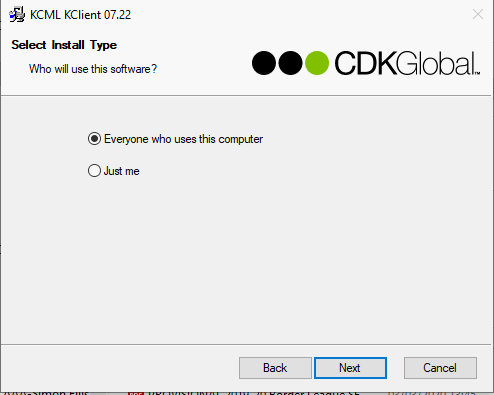
IMPORTANT: When prompted Everyone/Just me you must select Everyone, then press [NEXT].
If this option is greyed out/unavailable you will need to contact your IT support provider and get them to install the software as a user with administrator privileges.
Keep clicking [Next] and follow the process through to the end.
Troubleshooting / Install problems.
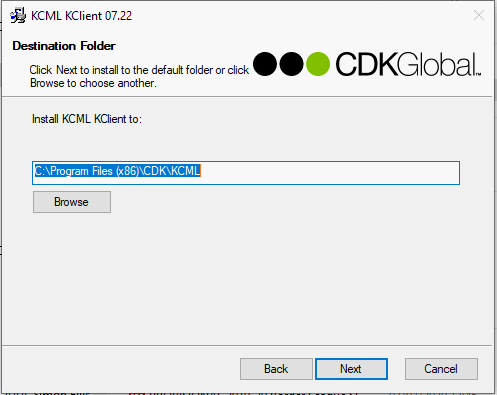
When prompted for a location to install the software accept the default location.
Only *IF* there is a problem and the software will not install, then you will need to create a new directory on your PC, e.g. C:\temp\KCML and then use the [BROWSE] button to explore to this new directory and install the software there.
(2) Setup and Influence Icon
Once you have installed the K7Connector software you can then setup and icon that will allow you to connect to your Influence Database.
Tip: If you have your icon on another PC/Laptop you can simply Copy/Paste it from the other laptop/PC onto the Desktop of your new one.
If you don't have access to the other icon, or need to start from scratch, then follow the instructions below:
Before you start to setup a new icon you will need to know:-
- Which SERVER your database is installed upon.
- The SERVICE NAME you will need to connect to.
- Your own (personal) login details, including User Name and Password.
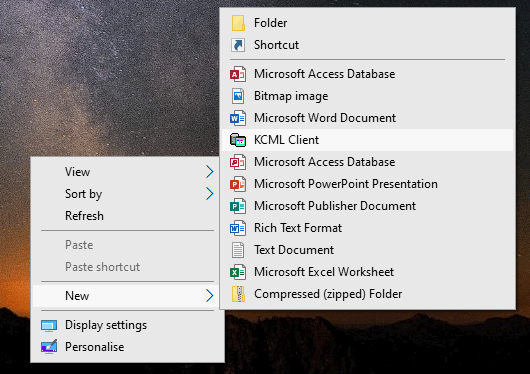
1. Right click on the desktop and choose New > KCML Client
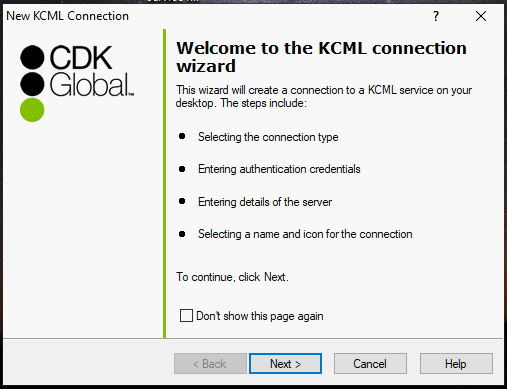
2. When the KCML Connection installation window appears, click NEXT>
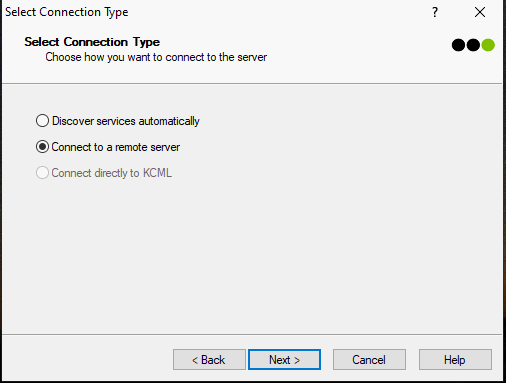
3. Choose the connection type as ( ) Connect to a remote server. Press Next >
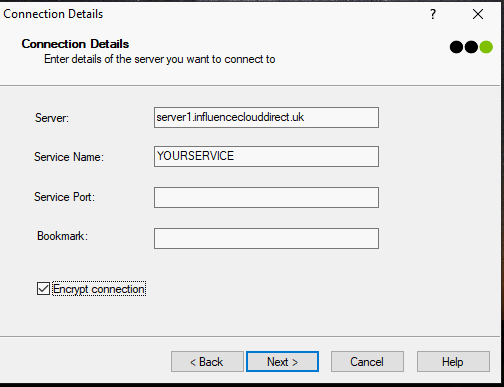
4. Enter the server details, and a service name.
If you are using Influence Direct, then the server will be :-
server?.influenceclouddirect.uk where ? is replaced with 1,2,3,4 or 5 depending which server your database is installed upon.
The Service Name is likely to be related to your company name. e.g. If your company was called Mayflower Recruitment, your service might be MAYFLOWER (all in capitals).
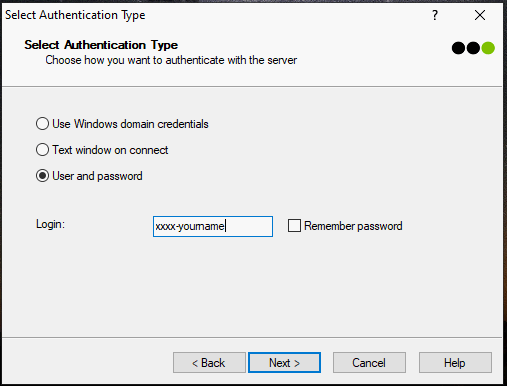
5. Enter your User name (Login) and Password.
Your Login will be of the form xxxx-yourname where xxxx relates to the company you work for and yourname is usually your own name.
e.g. mayf-johnsmith might be the login for a user John Smith working at Mayflower.
Tip: Tick the 'Remember Password [ ]' option to make it easier when logging in in future.
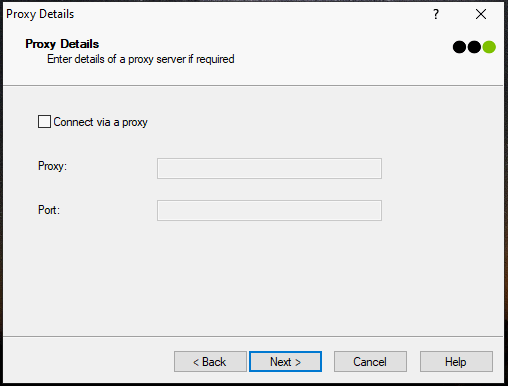
6. You do not need any Proxy Details - just click Next >
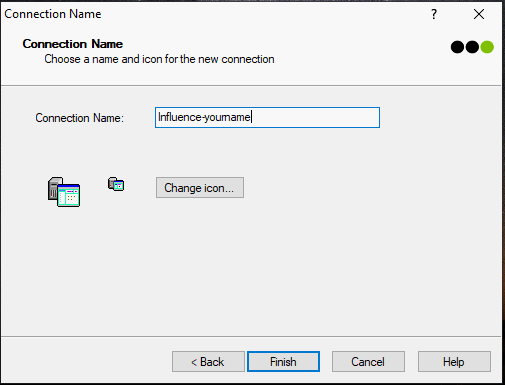
7. Finally, give the icon a sensible name, such as Influence-yourname,
(3) Test the Influence Icon
Once you have created a new icon on your desktop you should test it.
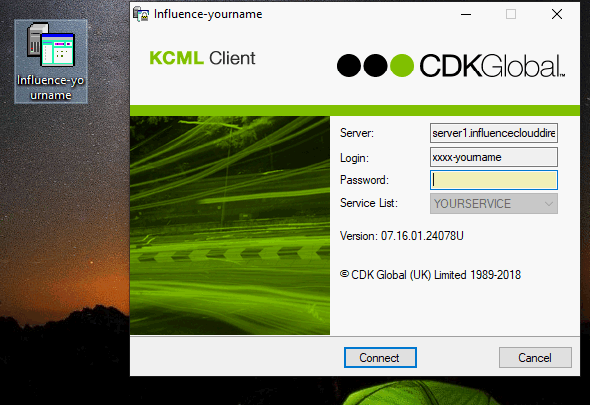
Click the icon and the system will attempt to connect to the server. The first time you try it will probably stop at a 'Green' screen like the one below.
You will need to enter the password to connect to the server. This password will have been setup when you first logged in to influence and will be a String of letter, numbers and characters.
Passwords must
- Contain at least one CAPITAL letter
- At least one lower case letter
- At least one number (0-9)
- At least one 'Special' character (such as ?, !, #,<,*, &, etc etc.)
Tip: As you may need this login password from time-to-time you should keep a note of this somewhere secure or make sure you remember exactly what it is.
Provided everything has been installed ans setup correctly, you should be presented with a login screen to the actual database similar to the one below:
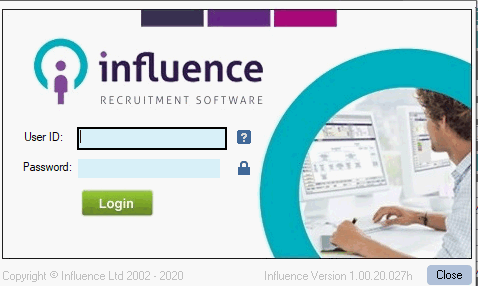
At this point you can login to your database with the 'normal' credentials you use every day, which are often related to your name.
e.g. John Smith may well have
User ID: JOSM (i.e. Taken from John Smith)
Password: ****
Graeme Orchard
Comments