If you have a list of companies in an MS Excel sheet, it is possible to quickly/easily import these into your Influence database.
From Release v1.00.18.157 or later, whenever an import is performed the system will create a GROUP containing details of the Companies/contacts which were imported. (See below)
Contents (Click an Item to Jump to that section)
Important Considerations for Import Tool
How it Works
1) Login to the database as the user "ADM" (or your own login if you have access to the [Maintenance] part of the system)
2) Choose Maintenance > Tools > Client/Contact import from Excel
3) Once the client import screen opens, click the [New] button at the bottom left to open an Excel template for you to use.
The template will have the column headings you can use, e.g.
FORENAME SURNAME JOB TITLE ORGANISATION EMAIL TELEPHONE MOBILE .....etc
If you are using the spreadsheet to import contacts then you must specify a Forename/Surname in addition to any company information.
| Important: Please leave the column titles as they are i.e. UPPER CASE. |
4) Copy/Paste the information from your excel sheet into the template under the correct column heading(s). When done, save the template using Save As.... and save the file as an MS Excel 97-2003 type sheet. (i.e. *.xls)
| Tip: When saving the spreadsheet please ensure that there are no Filters/Auto-filters and no rows or columns are "Hidden". |
5) Before importing create a "Test" spreadsheet by re-saving the first 2-3 lines only (Including Headings) as a separate file, e.g Test.xls
6) From the Influence Client/Contact import from Excel, click the [Next] button. A window will appear asking for the spreadsheet containing the information to be imported.
Simply Drag/Drop the "Test" spreadsheet that you saved in step (5) onto the window, and press [OK]. The system will then import the contacts into your database.
7) Ensure the information has import correctly from the test spreadsheet. When satisfied repeat step 6 with the full spreadsheet.
| Note: When importing data the system will ignore the "TITLE" row, and will then import rows until it hits a <Blank> row. The first totally blank row will stop the import at that point and any data below this point will not be imported. |
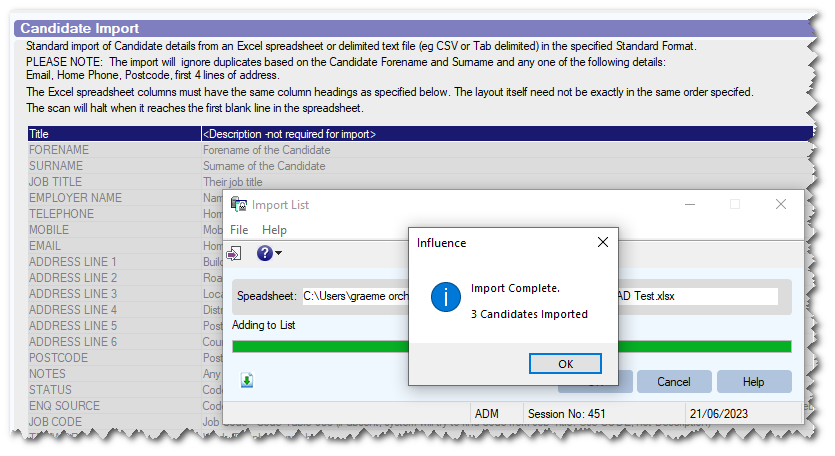
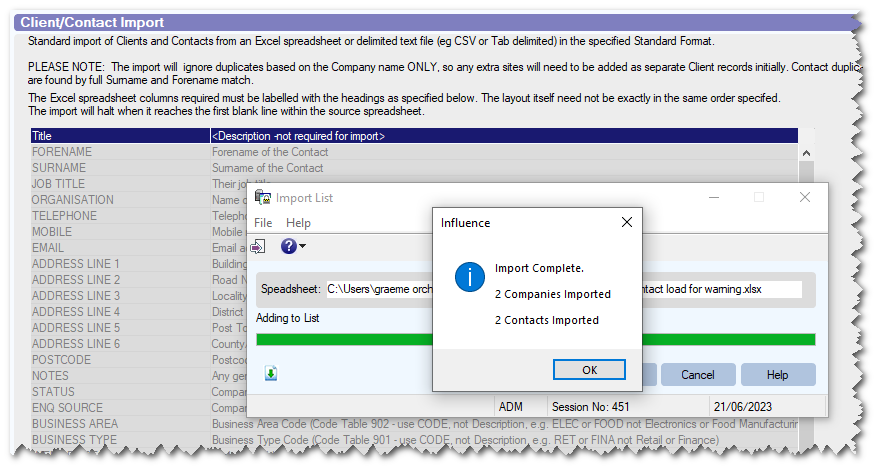
Confirmation of Completion
After completing an upload from Excel, the system will display a 'Confirmation' window explaining what was imported/loaded.
| Feature only available from v1.00.23.141 or later |
Important considerations when using the Import Tool
A) If a company already exists, then it will not be added again if the name in the import spreadsheet is identical. If any part is different (Including CASE), then the import will add a new company. (For example ABC Co Ltd is different to Abc Co Ltd, and thus a new record would be imported/created. )
Ai) As a result of the above, if your import data contains two different organisations, with different addresses, but the same name (ORGANISATION) then the import will create only ONE company, and all contacts at the firm with this name will be added to this ONE company/organisation.
e.g.
Woodland School, 28 Bromley Road, Bromley Kent, BR2 5LJ John Jones, Maths Teacher.
Woodland School, 71 Harbour Street, Christchurch, Hants, BN11 2DW Martin Lovell, Science Teacher.
This example will create ONE organisation called Woodland School, even though they are both at different addresses.
B) It is possible to load "Branches" by indicating the branch in brackets, i.e. (xxxxx)
e.g. Importing a spreadsheet with
ABC Tools Ltd (Leeds) and also
ABC Tools Ltd (Bristol) would create a single client called ABC Tools Ltd, with two branches. (Leeds & Bristol)
C) If you import a client only, with no contact (i.e. Forename/Surname are left <blank>) then the email field will only store the domain part of the email.
i.e . Info@XYX-Products.com would be stored simply as @XYX-Products.com.
If you wish to store the whole email address you must specify a contact.
D) When using the excel import template to upload fields such as 'Status', the code must be entered instead of the description, i.e. 'ACT' instead of 'Active'
E) If data is imported incorrectly it will need to be removed form the database before re-importing. If it is not removed then any future imports will be treated as duplicates and will not be imported.
F) TEST IT !
It is good practice to test the import routine first. For example, if you wish to import 2000 client records, we would suggest that your run an import using just the first 2 or 3 lines of your spreadsheet to start with - then if that works as intended, proceed to import the rest. If you have made mistake with your data, this will make it much easier to undo before importing the bulk of your data.
G) File Size
If you have a large spreadsheet please bear in mind that this may take a long time to process, depending on the speed of your connection, load on the server, etc.
| Tip: It is often better to split an import into 2 or 3 smaller files of 500 records than one single file of 1500. |
H) If importing NOTES, then for instances of multiple contacts at the same site, the NOTES from the first contact will be used as the Profile notes for the site, and NOTES from subsequent contacts will be stored on the contact only (not the client).
Automatic Creation of Groups
From version 1.00.18.157 or later, whenever an import is run the system will automatically create a GROUP containing the details of any companies/Contacts which were added during the import.
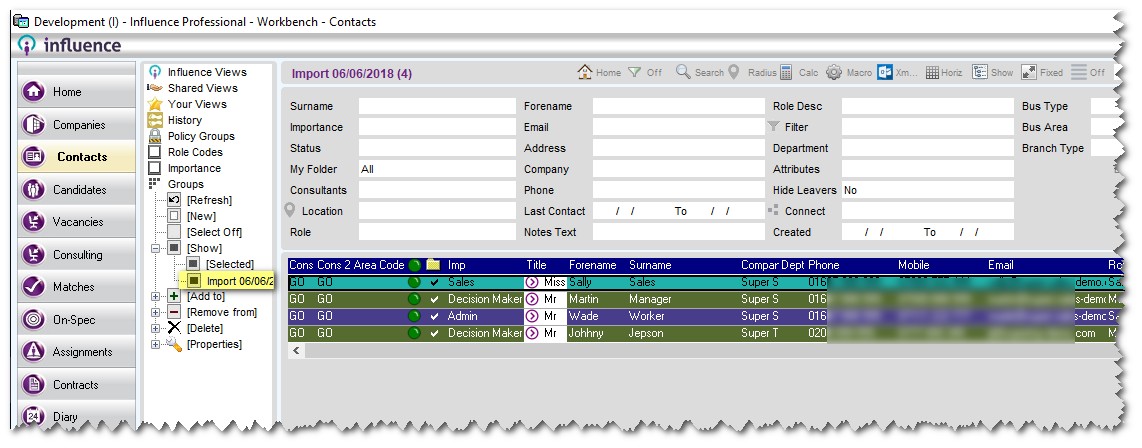
The name of the group will be of the format Import dd/mm/yyyy as shown above.
This makes it much easier to remove or delete these records should there be any need to undo the import.
[ Keywords: Company import, excel import, company import from excel, import companies from excel, excel client import, excel company import, load companies.]
Graeme Orchard
Comments